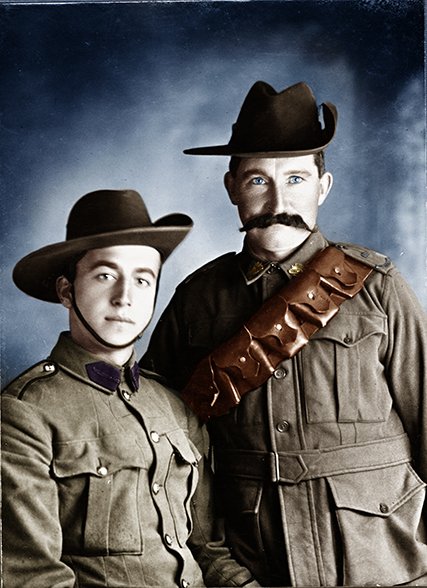
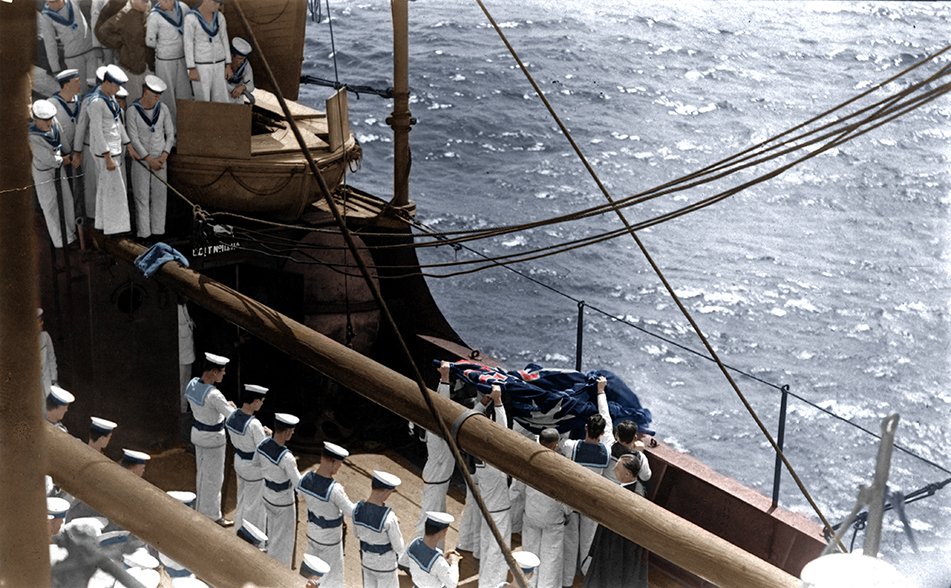


The Digger’s view: WWI photos in colour
24 February 2015

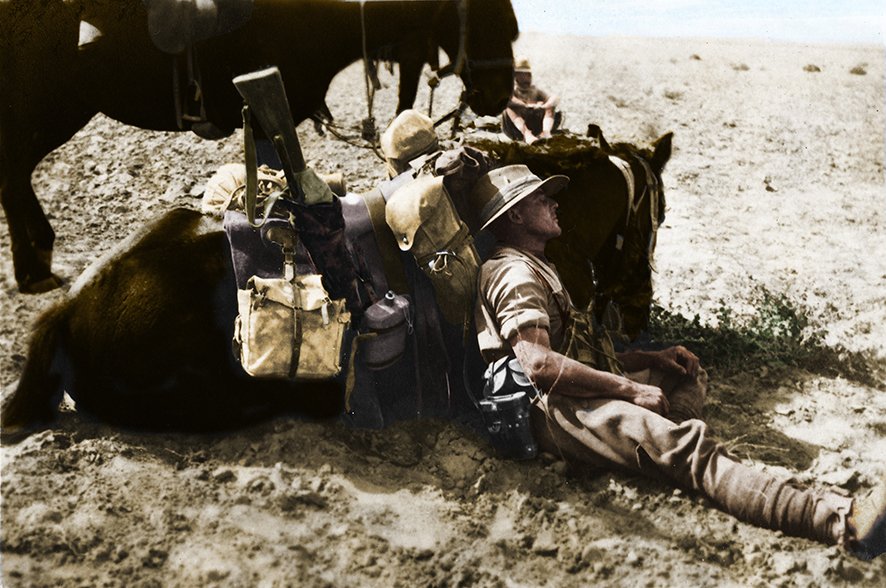
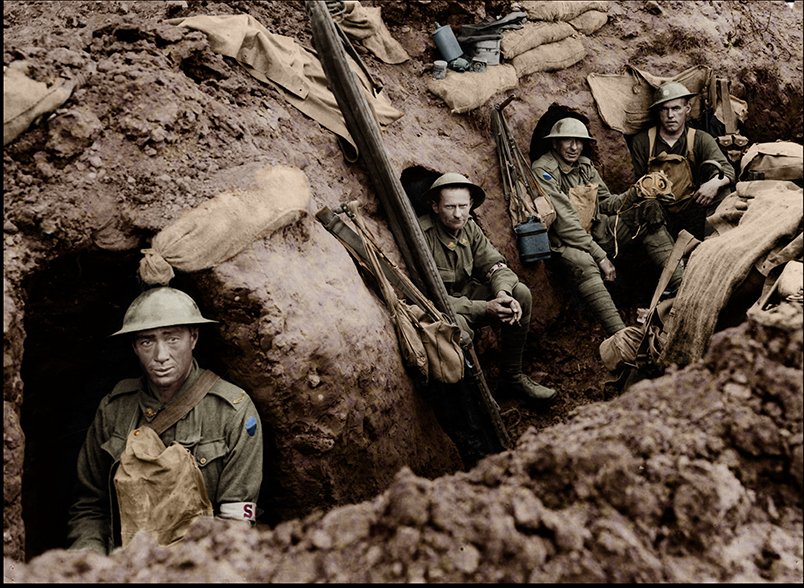
Bringing the wounded back. Stretcher bearers take a break in their dug-outs before venturing out again to collect the wounded and dead - risking their lives. You can see the hand-grenade under the water bottle at the top of the photo.Private Edwin Walkinginton 58th Battalion. July 22nd 1916 diary extract regarding actions after the Battle of Fromelles.
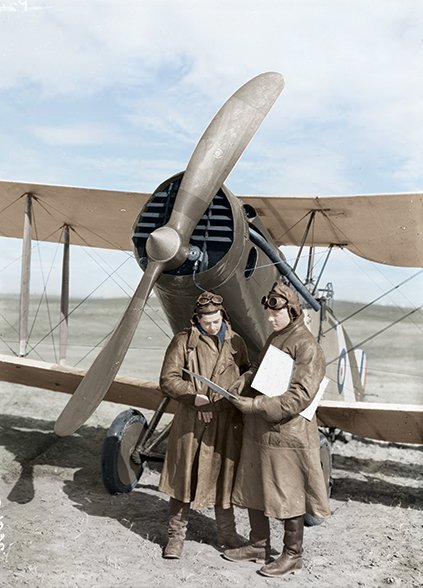
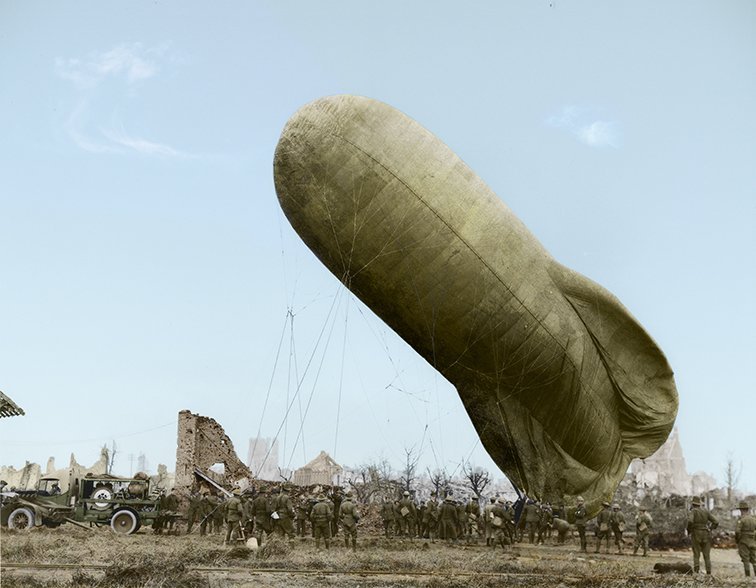
Monochrome images of war-torn landscapes, of dark skies and mud-laden boots trigger a distant memory of a bygone era. But not anymore. For over five years, policeman Juan Mahony persevered to revitalise a collection of World War I images, in colour, to make this slice of our history more accessible. Working alongside a team of digital artists, he made many visits to museums, studying original army uniforms and equipment from the Australian War Memorial, to achieve a real-life colour representation of individual soldiers and their stories. Juan was inspired by the 1916 death of his great uncle on the Western Front to get every detail right. He published the images in his book: The Digger’s View.